How to Change a Locking PinUpdated 6 months ago
How to Change a Locking Pin
Tools Required:
• 6mm Allen wrench • 13mm wrench
Instructions:
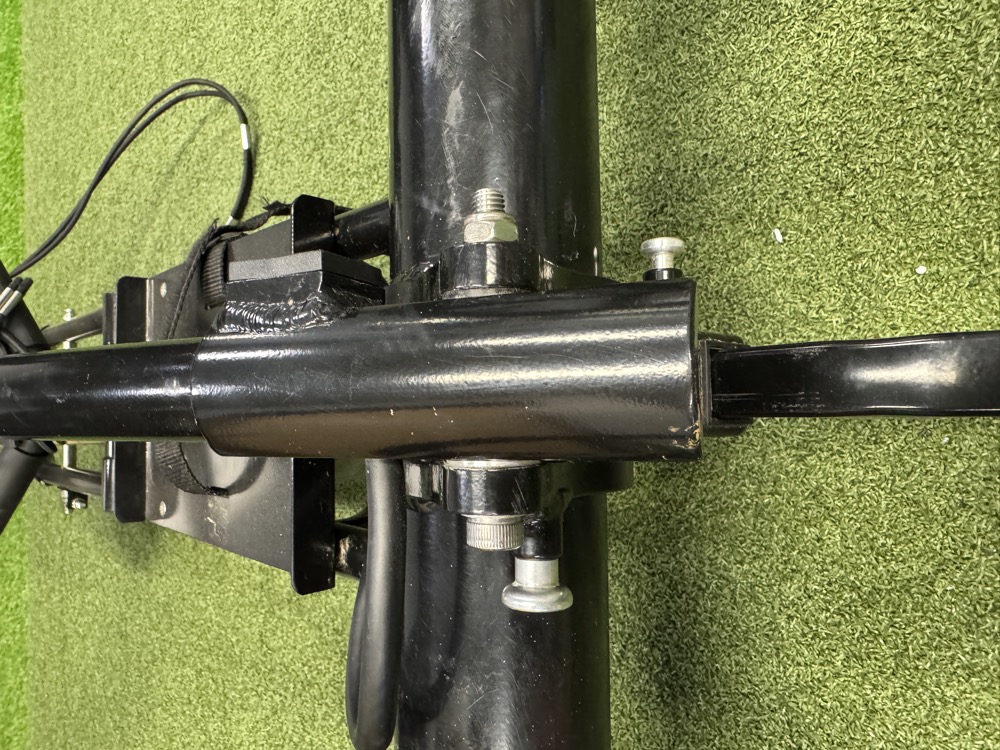
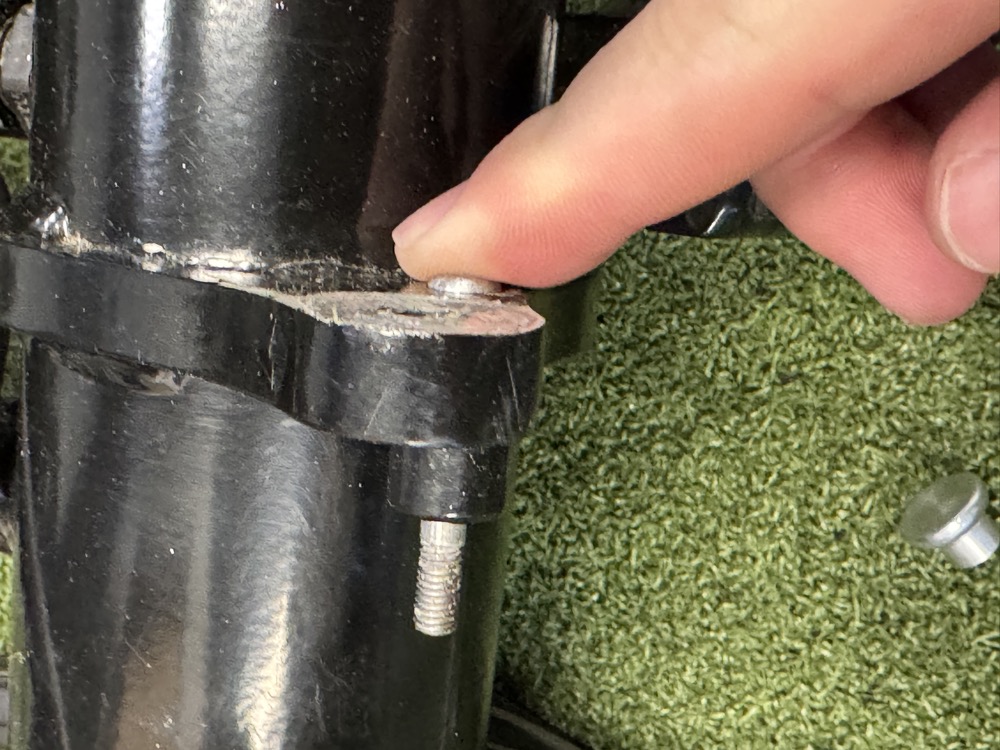
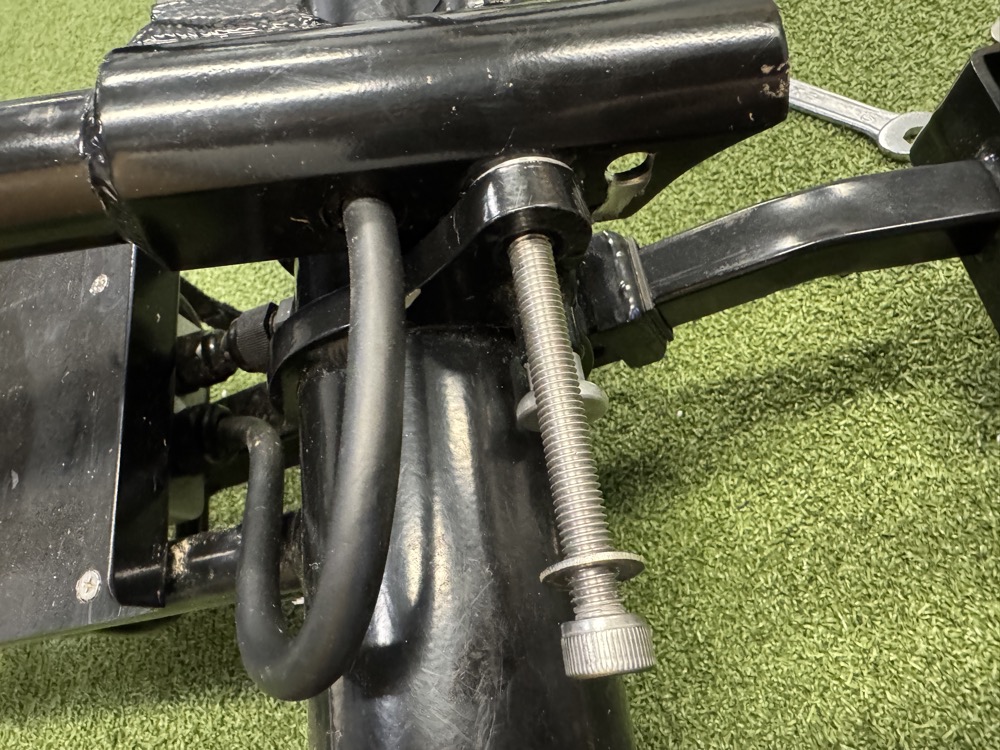
1. Remove the Main Pivot Bolt:
▪ Locate the main pivot bolt on the trolley.
▪ Use a 6mm Allen wrench and a 13mm wrench to remove the nut and bolt.
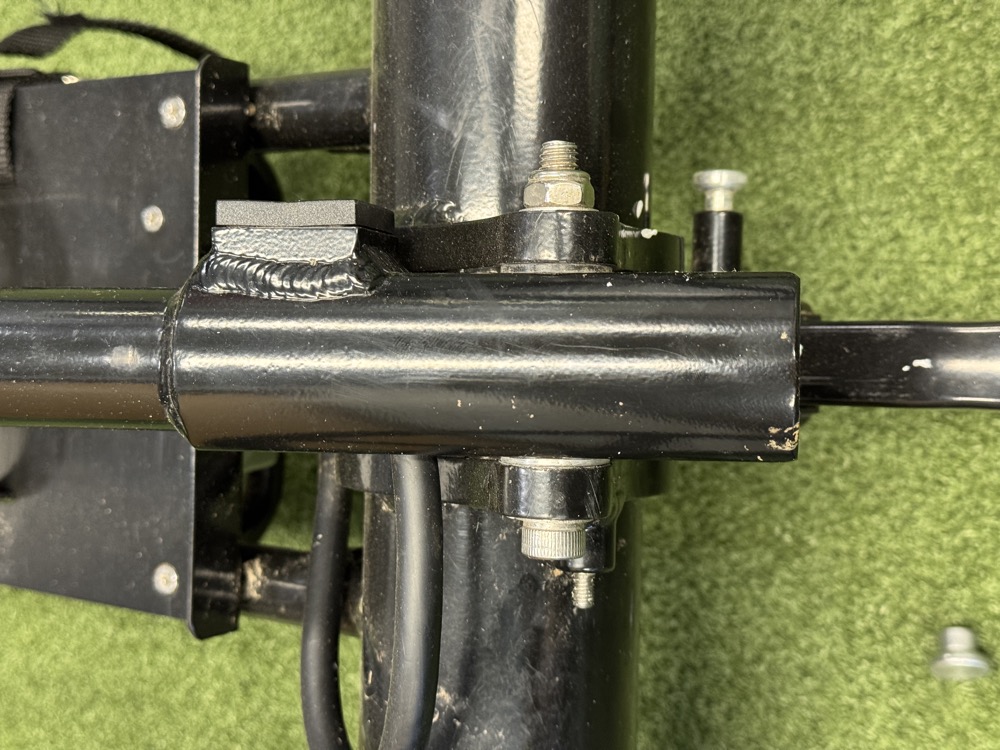
2. Detach the Handle:
▪ Carefully pull the handle out of its mounting location.
▪ Set the handle aside, taking care not to tug or pull on the wiring harness.
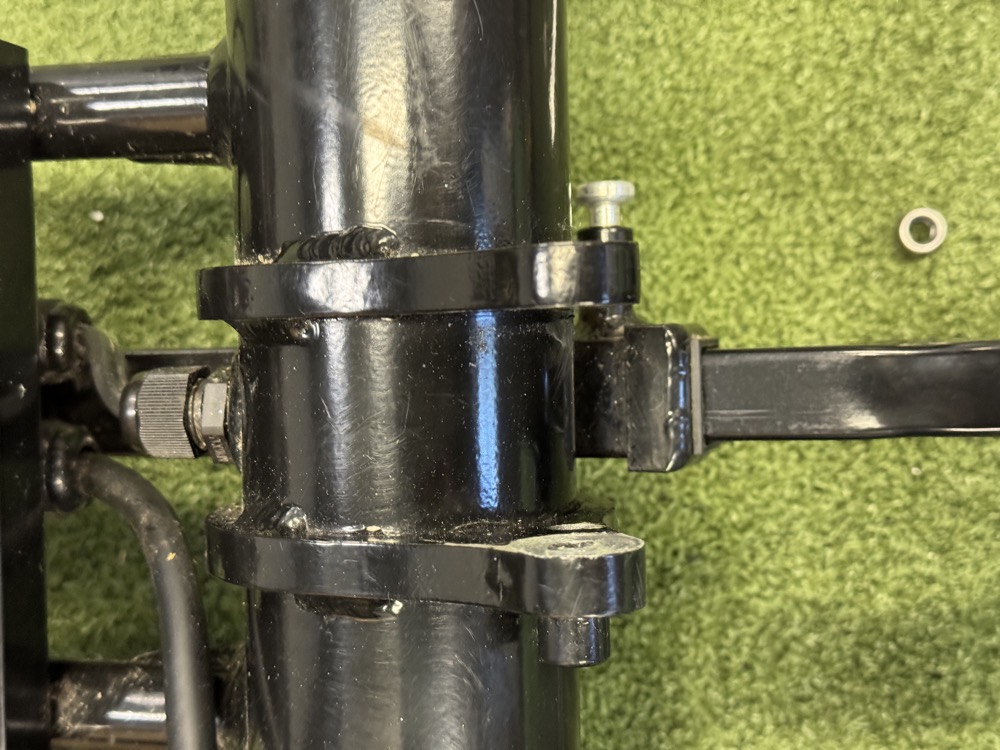
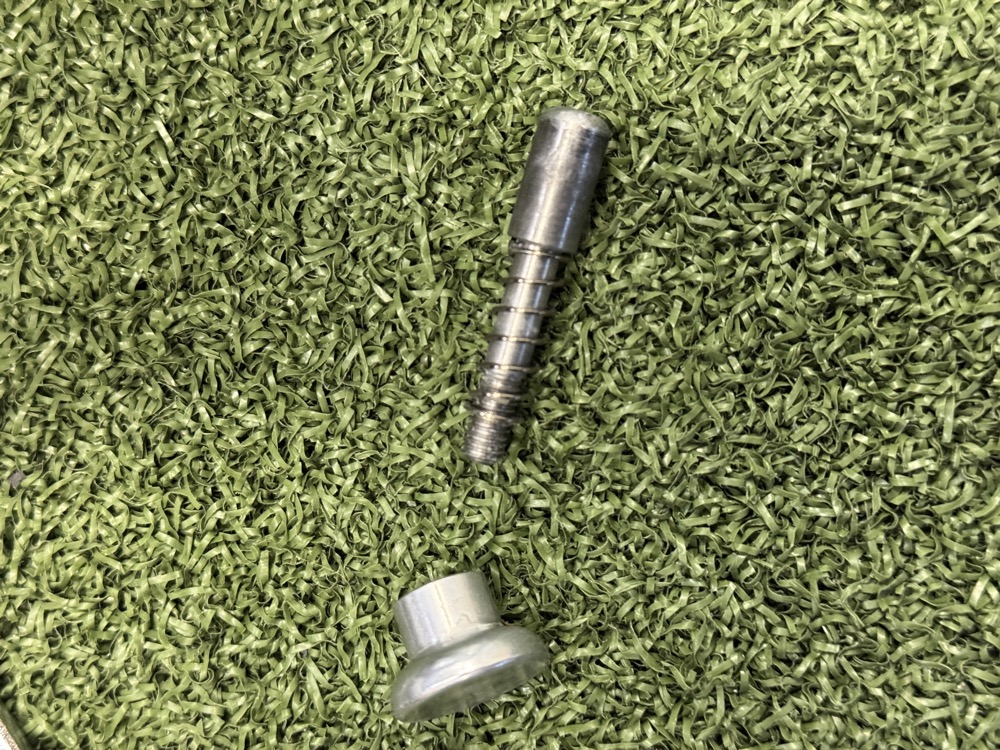
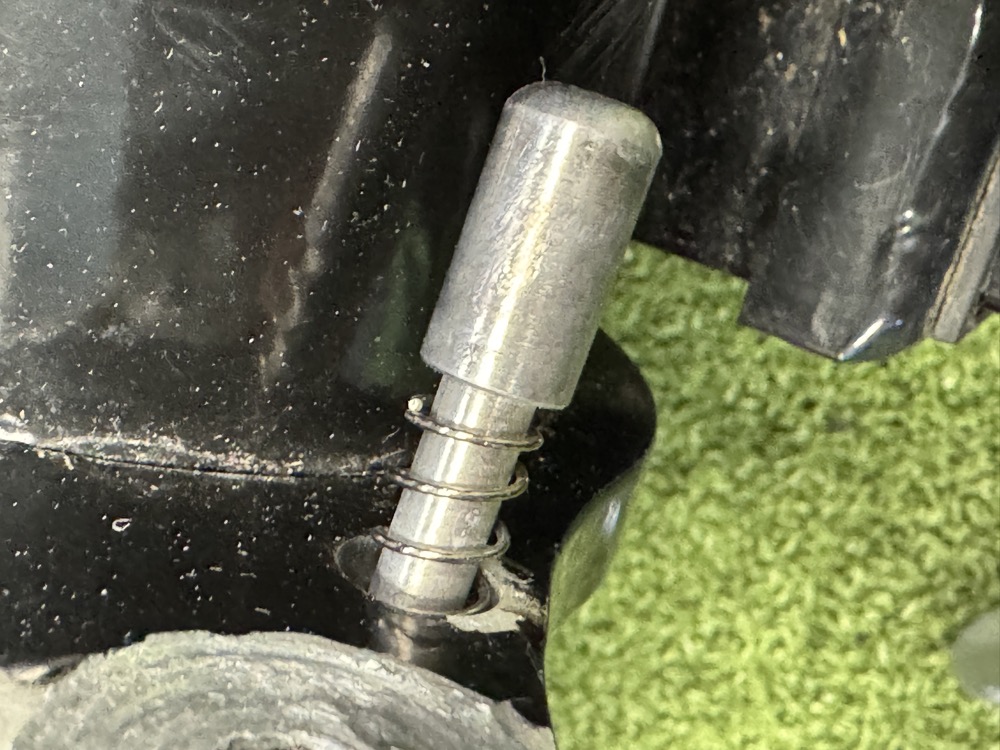
3. Prepare the Locking Pin:
▪ Assemble the locking pin by placing the spring onto the pin.
▪ Slide the pin and spring into the designated locking pin hole.
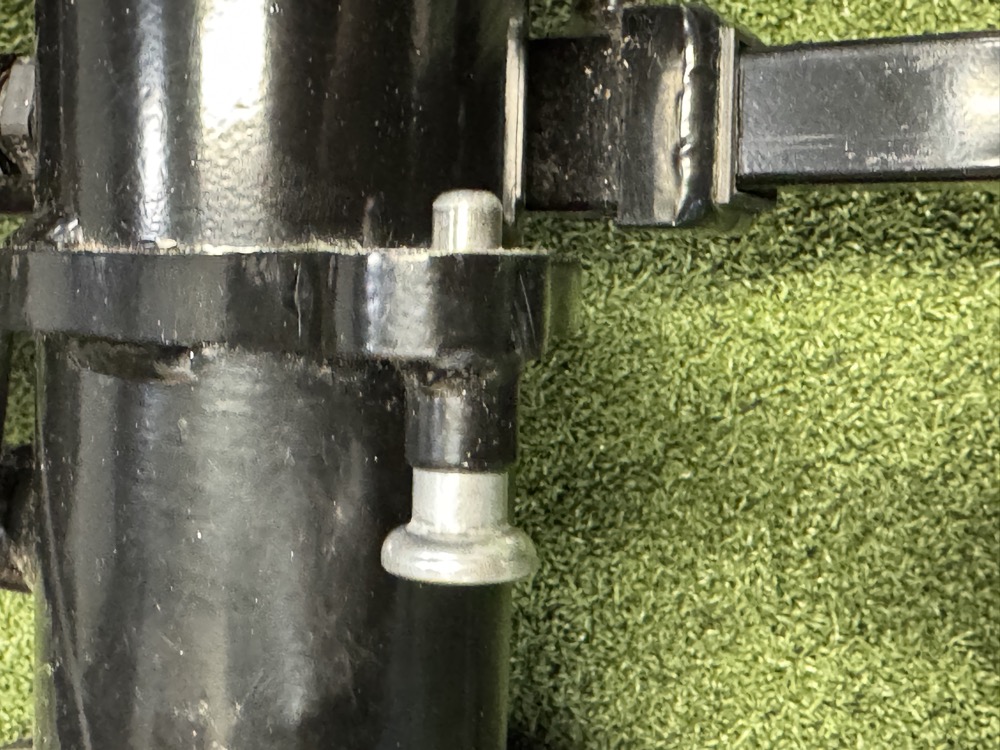
4. Install the Locking Pin:
▪ Push the locking pin completely through the hole.
▪ Secure the pin by screwing the cap onto its threaded portion.
5. Reinstall the Handle:
▪ Align the lower handle with the pivot bolt holes on the frame mount.
▪ Insert the pivot bolt and washer on the left side of the trolley.
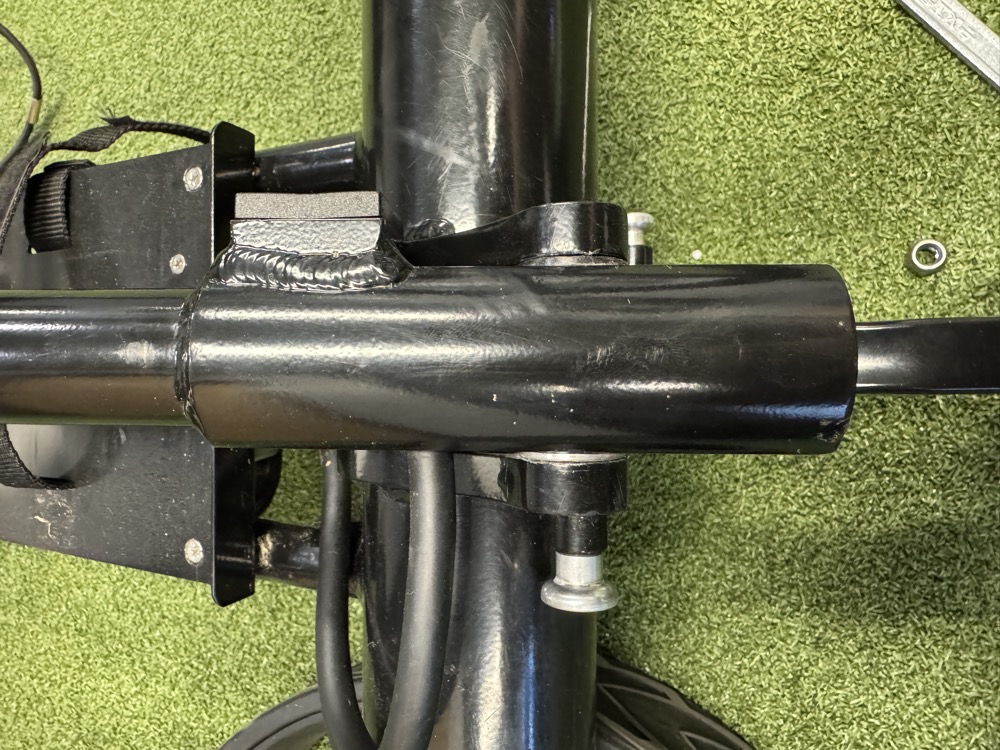
6. Secure the Assembly:
▪ On the right side of the trolley, install the washer and locking nut.
▪ Tighten the nut snugly to ensure a secure fit.